One of the things I find most painful about doing development work on cloud platform technology is having a good test bed. There is usually some project from the upstream that contains all the complicated bits you will need to have a moderately usable platform. When I was doing OpenStack development this was usually an application named DevStack. In the Kubernetes world there are tools like minikube and minishift to get you started.
Most of these tools are great for doing certain types of development work, but there comes a time when you need to step things up a little without needing to install an entire data center! Today, I’m gonna cover one of these options, namely the okd 3.11 all-in-one deployment.
Firstly, readers who know the OpenShift/okd world know that there are newer tools like CodeReady Containers for hacking on the latest versions of OpenShift. But I want to focus on okd as it is the community release.
Secondly, I am focusing on version 3.11 as there has been a titanic movement in the way OpenShift is deployed in the 4.x series. The okd project has not released its full 4.x tooling yet, and so for the time being the best option for testing okd is the 3.11 branch.
Have this stuff ready
You will need a machine you can use to run everything, I like to use a machine that will only be used for okd. In my case, I have a ThinkPad T460p with 8 vCPUs and 16GB ram. I’ve found that this is usually enough for the types of work that I am doing.
I also install Fedora Server version 30 on this machine. I’ve found that Fedora usually works well for the the type of installs that I am doing, and I am also quite familiar with this distro. I have tested this install on CentOS server as well, but that is as far as my testing has gone.
Note, if you want to find older versions of Fedora, see download.fedoraproject.org
Doing the install
After getting my machine all setup with the operating system, the next step is
to use the OpenShift Ansible project
to do that actual install. Make sure you switch to the release-3.11 branch.
release-3.11 branch when attempting
to install on Fedora 30 hosts. I have been working on a patch to fix these,
you can see them in
my fork of the repository.
The instructions tell us that we will need a few packages to complete the install, additionally we will also want Git so I tend to install that as well.
sudo dnf install -y git ansible pyOpenSSL python-cryptography \
                    python-lxml java-1.8.0-openjdk-headless patch httpd-tools
Next, I clone my fork of the OpenShift Ansible project repo onto the machine and then
switch the branch to the fedora30-all-in-one. I don’t specifically need to do this
on the host, I could run the install remotely, but I find this to be the easiest for my
uses. I also tear down the machine frequently when things get bad, so I don’t
invest too much time into this part of the process.
git clone https://github.com/elmiko/openshift-ansible.git && \
cd openshift-ansible && \
git checkout fedora30-all-in-one
We are almost ready to kick things off, but first I need to create an inventory file that will be used by Ansible. The upstream project contains an example inventory for the all-in-one deploy, but I like to make a few modifications. I use a local dns server and so I like to change the name of the machine to fit my infrastructure.
Also, it is important to note that there have been some structural changes since
this project was highly active(the
new installer is a separate path than Ansible),
so the openshift_pkg_version and openshift_service_type variables needed to
be updated as well.
In the end this is what my hosts inventory file looks like:
hosts.shift.opb.studios
#bare minimum hostfile

[OSEv3:children]
masters
nodes
etcd

[OSEv3:vars]
openshift_pkg_version=-3.11.*
openshift_service_type=origin
# if your target hosts are Fedora uncomment this
ansible_python_interpreter=/usr/bin/python3
openshift_deployment_type=origin
openshift_portal_net=172.30.0.0/16
# localhost likely doesn't meet the minimum requirements
openshift_disable_check=disk_availability,memory_availability

openshift_node_groups=[{'name': 'node-config-all-in-one', 'labels': ['node-role.kubernetes.io/master=true', 'node-role.kubernetes.io/infra=true', 'node-role.kubernetes.io/compute=true']}]

openshift_master_cluster_hostname=shift.opb.studios
openshift_master_default_subdomain=shift.opb.studios

[masters]
localhost ansible_connection=local

[etcd]
localhost ansible_connection=local

[nodes]
# openshift_node_group_name should refer to a dictionary with matching key of name in list openshift_node_groups.
localhost ansible_connection=local openshift_node_group_name="node-config-all-in-one"
You can see that I am adding my custom domain shift.opb.studios to the inventory
so that I can use that name with the deployed cluster.
Finally, I am ready for the push the big red button moment. I have placed
hosts.shift.opb.studios in my $HOME on the host and am ready to start.
I login to the host, change directory to the openshift-ansible project and then
start installing the prerequisites:
sudo ansible-playbook -i $HOME/hosts.shift.opb.studios playbooks/prerequisites.yml
Depending on your connectivity to the internet, this step should take around 2 to 3 minutes.
With the prerequisites installed I can now begin the okd install proper. This will take awhile so make sure you are using a terminal screener or have access to the host you are installing on.
sudo ansible-playbook -i $HOME/hosts.shift.opb.studios playbooks/deploy_cluster.yaml
For me, this operation took about 15 minutes. But when it completed, and after I accept the self-signed certs in my browser, I am presented with the following:
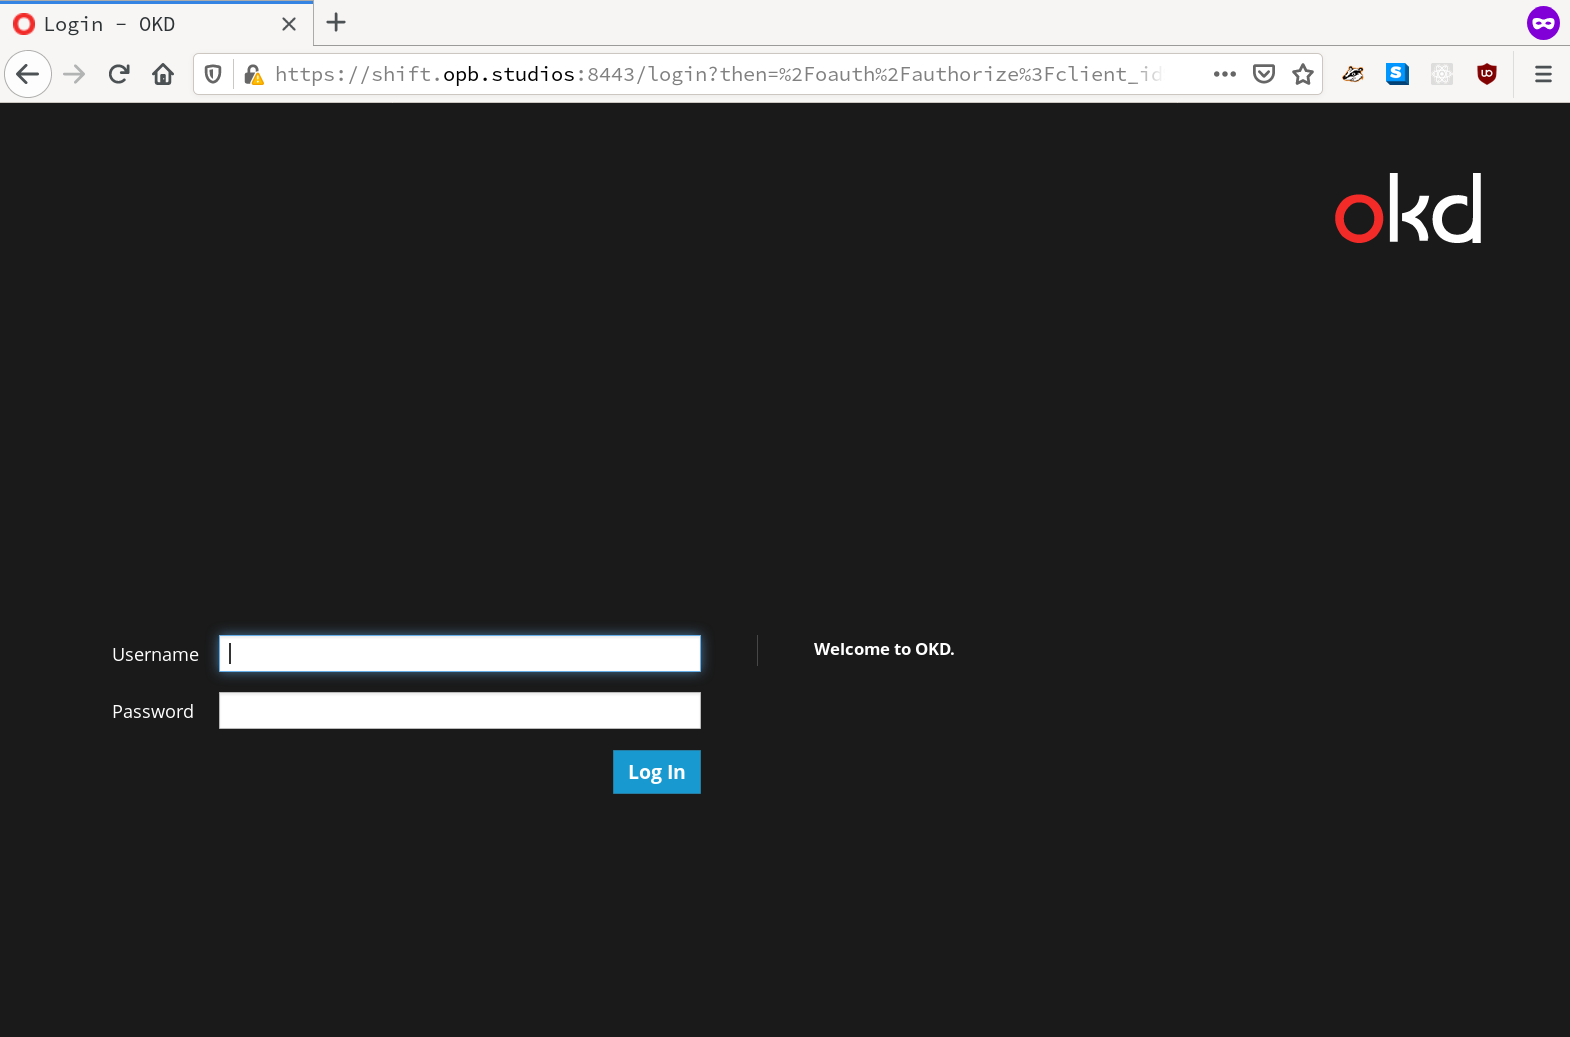
Ready to drive!
The system is basically deployed at this point, I can start using the web console
or the command line client. It is using the most basic authentication provider
which means you can login with any username. Also, it’s worth noting that if
you need to get administrator access you will need to login to the host running
OpenShift as root and then use an oc login -u system:admin command.
You should now have a fully functional OpenShift deployment. It’s pretty basic so you will need to do some customization, but at this point the playground is open!
enjoy the bits and as always, happy hacking =)